Move case attachments to SharePoint In Salesforce

Introduction
Salesforce “Email to case” is a great feature of service cloud. It lets customers send an email to a predefined email address and create a case automatically. The sender’s email is used to look up for a contact and the case is associated with the right contact and account. All email attachments are automatically added to case’s attachment related list.
Here is a great resource on how to set up email to case in Salesforce
However, a lot of companies don’t use Salesforce as their file storage system. They maintain all their customer documents in an external system like SharePoint, Google Drive, OneDrive etc. It’s a common use case to move case attachments to an appropriate folder in the external file system. Some common benefits of doing this is to consolidate all files in a dedicated file storage system and giving other teams(not using Salesforce) the access to these files.
In this article, we will see how to move case attachments to SharePoint
Setting up a flow
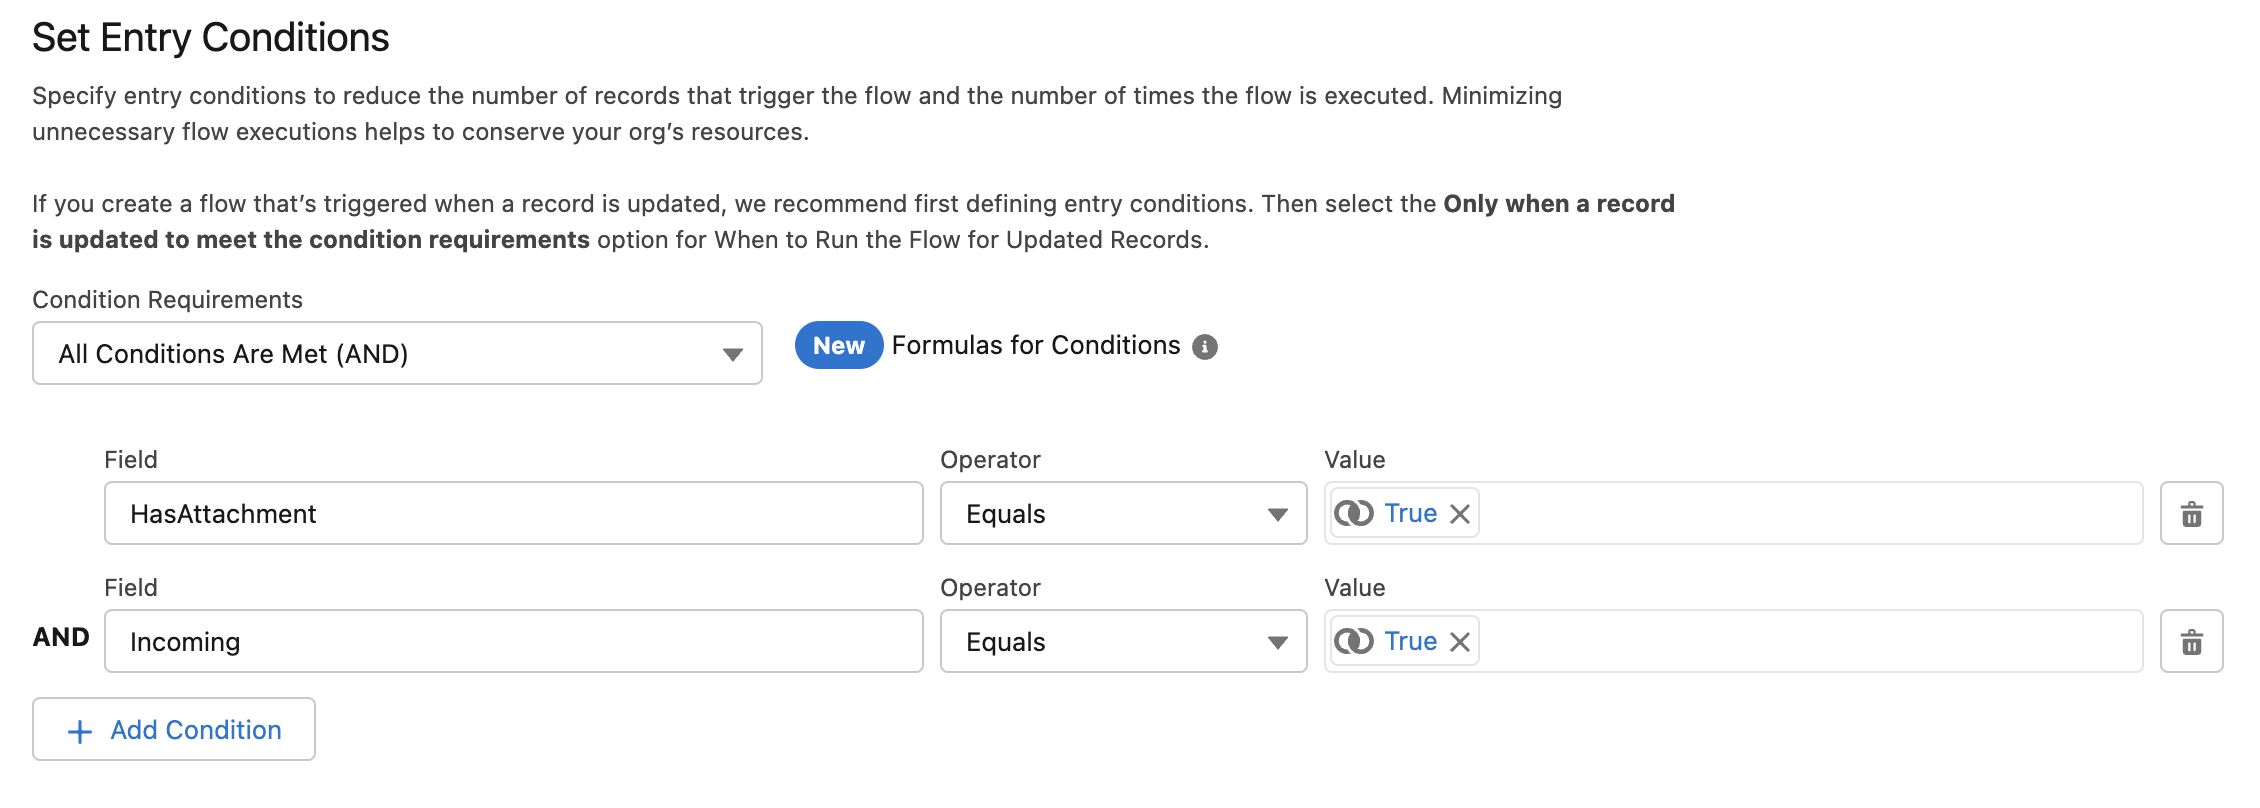
Let’s setup a flow which triggers when an email is received for case creation. We will add filters to only process the emails which have attachments and are incoming. Follow the steps below to set up the flow
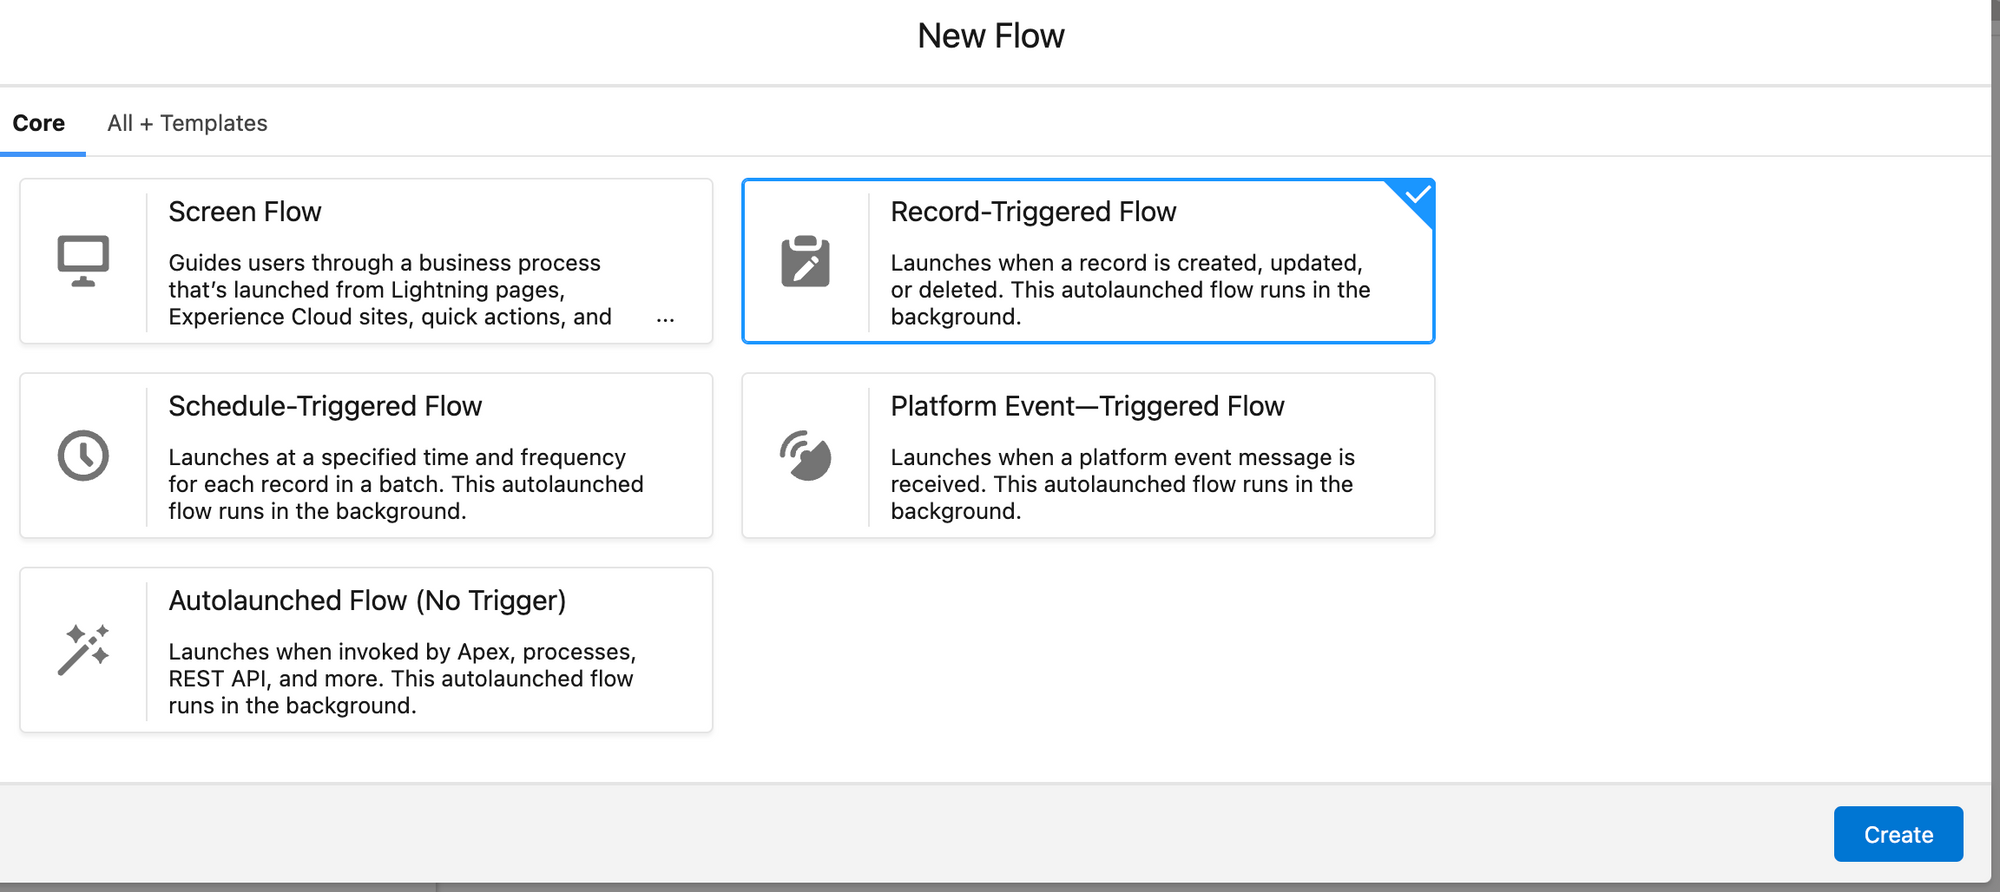
- Create a “Record Triggered Flow” on
EmailMessageobject.
- Add following filters
- Select “Actions & Related Record” for the “Optimize the Flow for” setting.
- Add an action element by clicking the plus icon after the start element
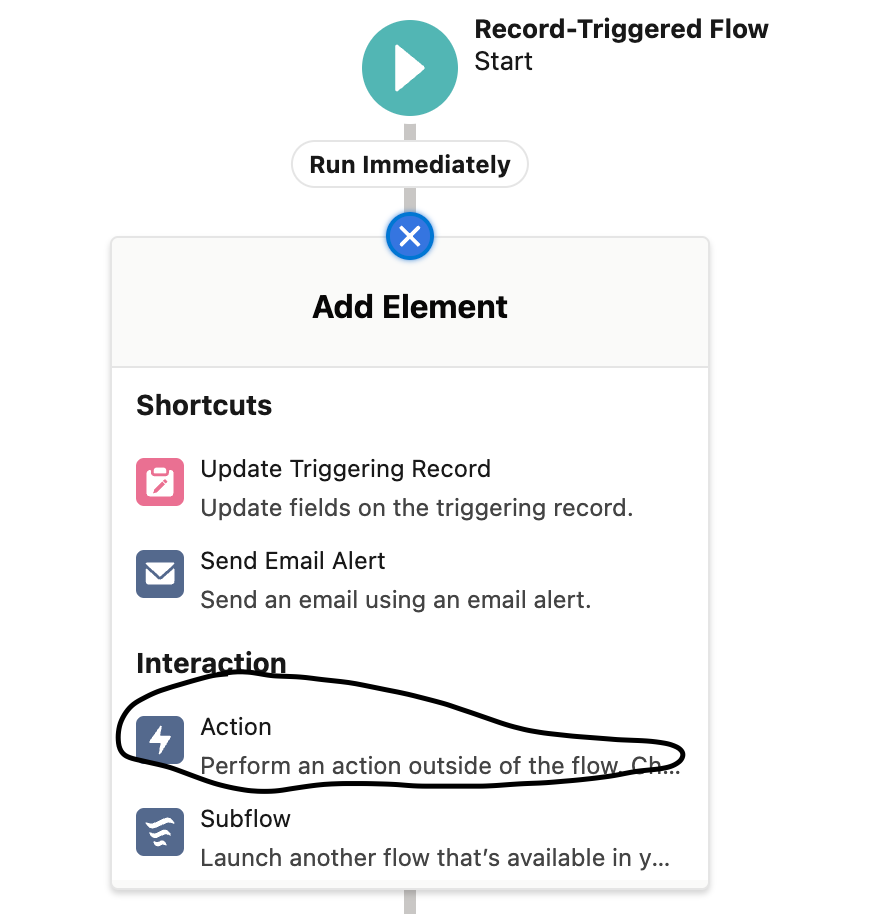
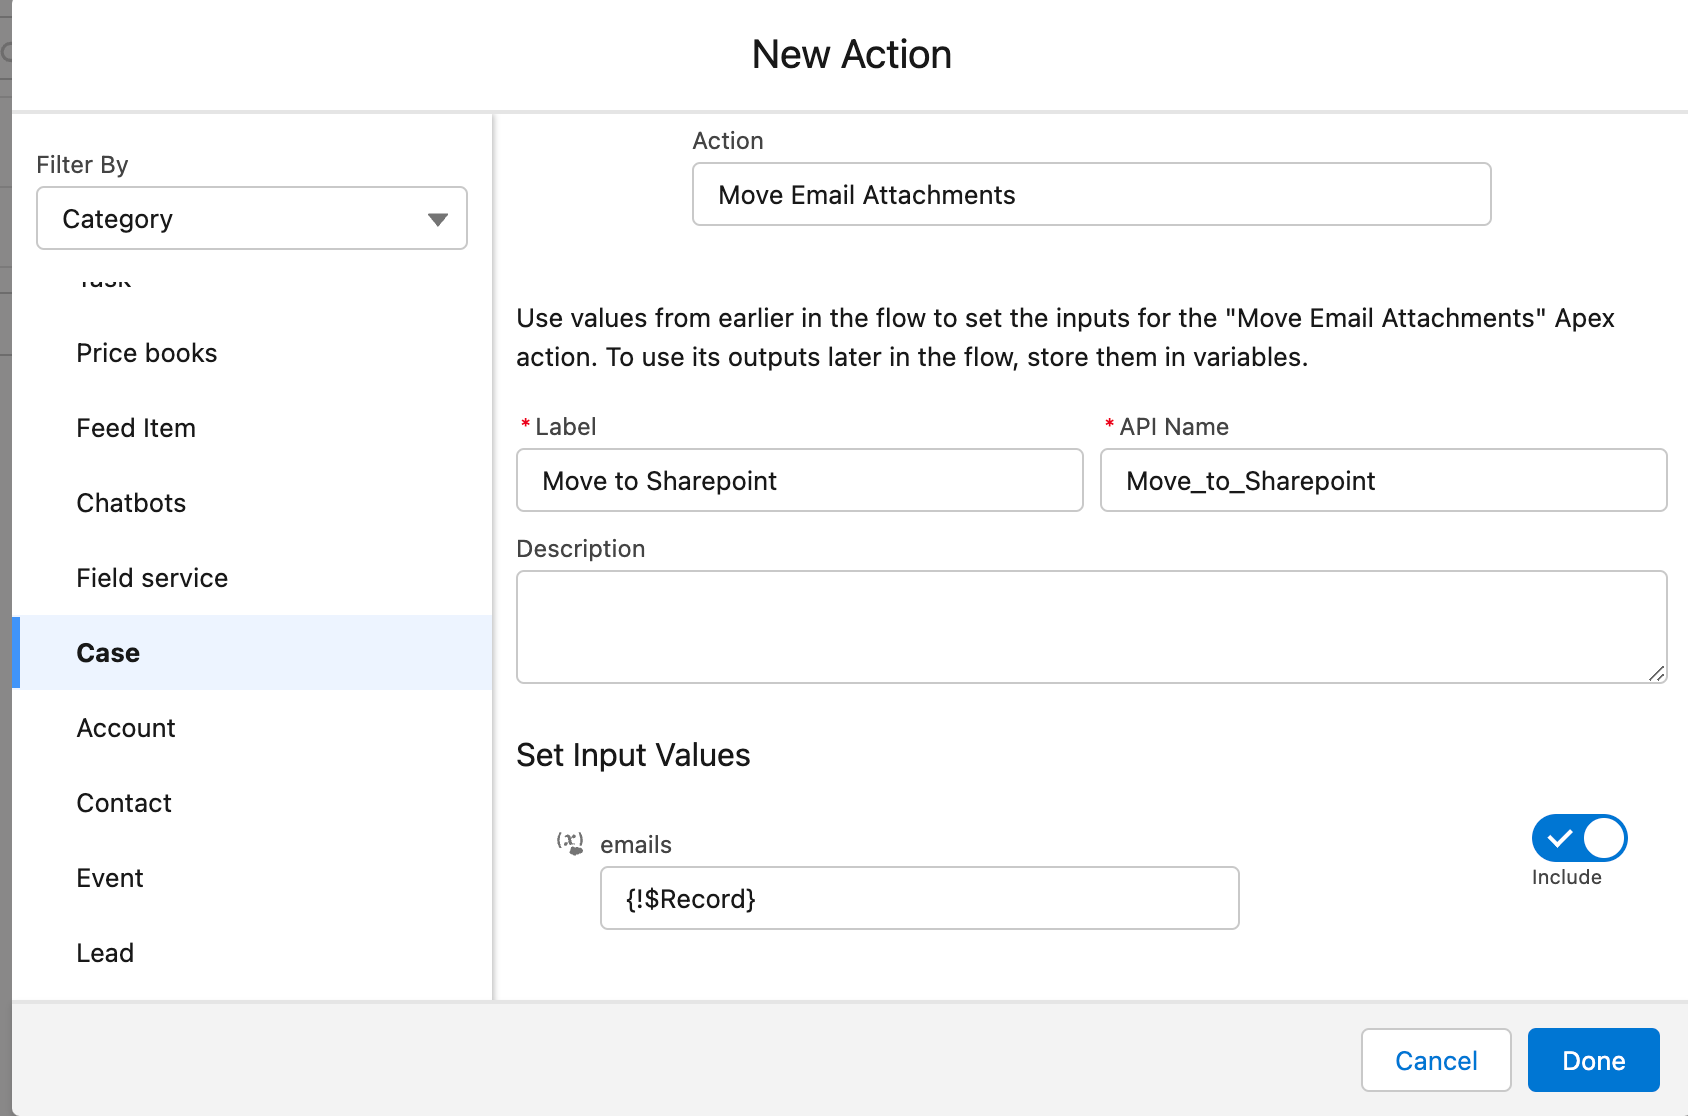
- For the action, we will define an apex action named “Move Email Attachments”. This action actually moves the case attachment to SharePoint
Apex action for moving attachment to SharePoint
To move the attachment to SharePoint, we will create an apex class with an invocable method. This method will call SharePoint APIs to upload the file from Salesforce to SharePoint. Please refer to the blog on how to upload files from Salesforce to SharePoint
In this example, we will use an AppExchange app called CloudFiles to integrate Salesforce and SharePoint. It’s not required to use the app, we can build the SharePoint integration by directly interacting with SharePoint APIs. However, it’s much easier to offload the integration part to a 3rd party app.
Here is the code to move the attachments to SharePoint, using CloudFiles.
public with sharing class MoveEmailAttachments {
  @InvocableMethod(label='Move Email Attachments' category='Case')
  public static void move(List<EmailMessage> emails) {
    Set<Id> emailMessageIds = (new Map<Id, EmailMessage>(emails)).keySet();
    moveAttachments(emailMessageIds);
  }

  @future(Callout=true)
  private static void moveAttachments(Set<Id> emailMessageIds) {
    List<Id> docIds = new List<Id>();
    List<EmailMessage> messages = [
      SELECT ContentDocumentIds, ParentId
      FROM EmailMessage
      WHERE Id IN :emailMessageIds
    ];
    for (EmailMessage message : messages) {
      docIds.addAll(message.ContentDocumentIds);
    }
    List<ContentVersion> contentVersions = [
      SELECT Id, Title, FileExtension, ContentDocumentId, ContentSize
      FROM ContentVersion
      WHERE ContentDocumentId IN :docIds
    ];
    List<cldfs.Types.SalesforceFile> files = new List<cldfs.Types.SalesforceFile>();
    for (ContentVersion file : contentVersions) {
      cldfs.Types.SalesforceFile salesforceFile = new cldfs.Types.SalesforceFile();
      salesforceFile.objectId = file.Id;
      salesforceFile.objectType = 'ContentVersion';
      salesforceFile.size = file.ContentSize;
      salesforceFile.name =
        file.Title +
        (file.FileExtension != null ? '.' + file.FileExtension : '');
      files.add(salesforceFile);
    }
    cldfs.Client.upload(
      files,
      '01DUZLFL7VABPXKZ4XIFB3IRS5WUHGCT6X', // sharepoint folder id
      'sharepoint',
      'b!_vGhud3ra0Gr9ZmKCbEzNjW3sDTx3w5GvW9kGLVVLvF3pV-mGPbLR4W6Pec3yqJI', // sharepoint drive id
      'b9a1f1fe-ebdd-416b-abf5-998a09b13336' // sharepoint site id
    );
  }
}
Complete the flow setup
- After creating the invocable apex method, use it in the flow action as shown below
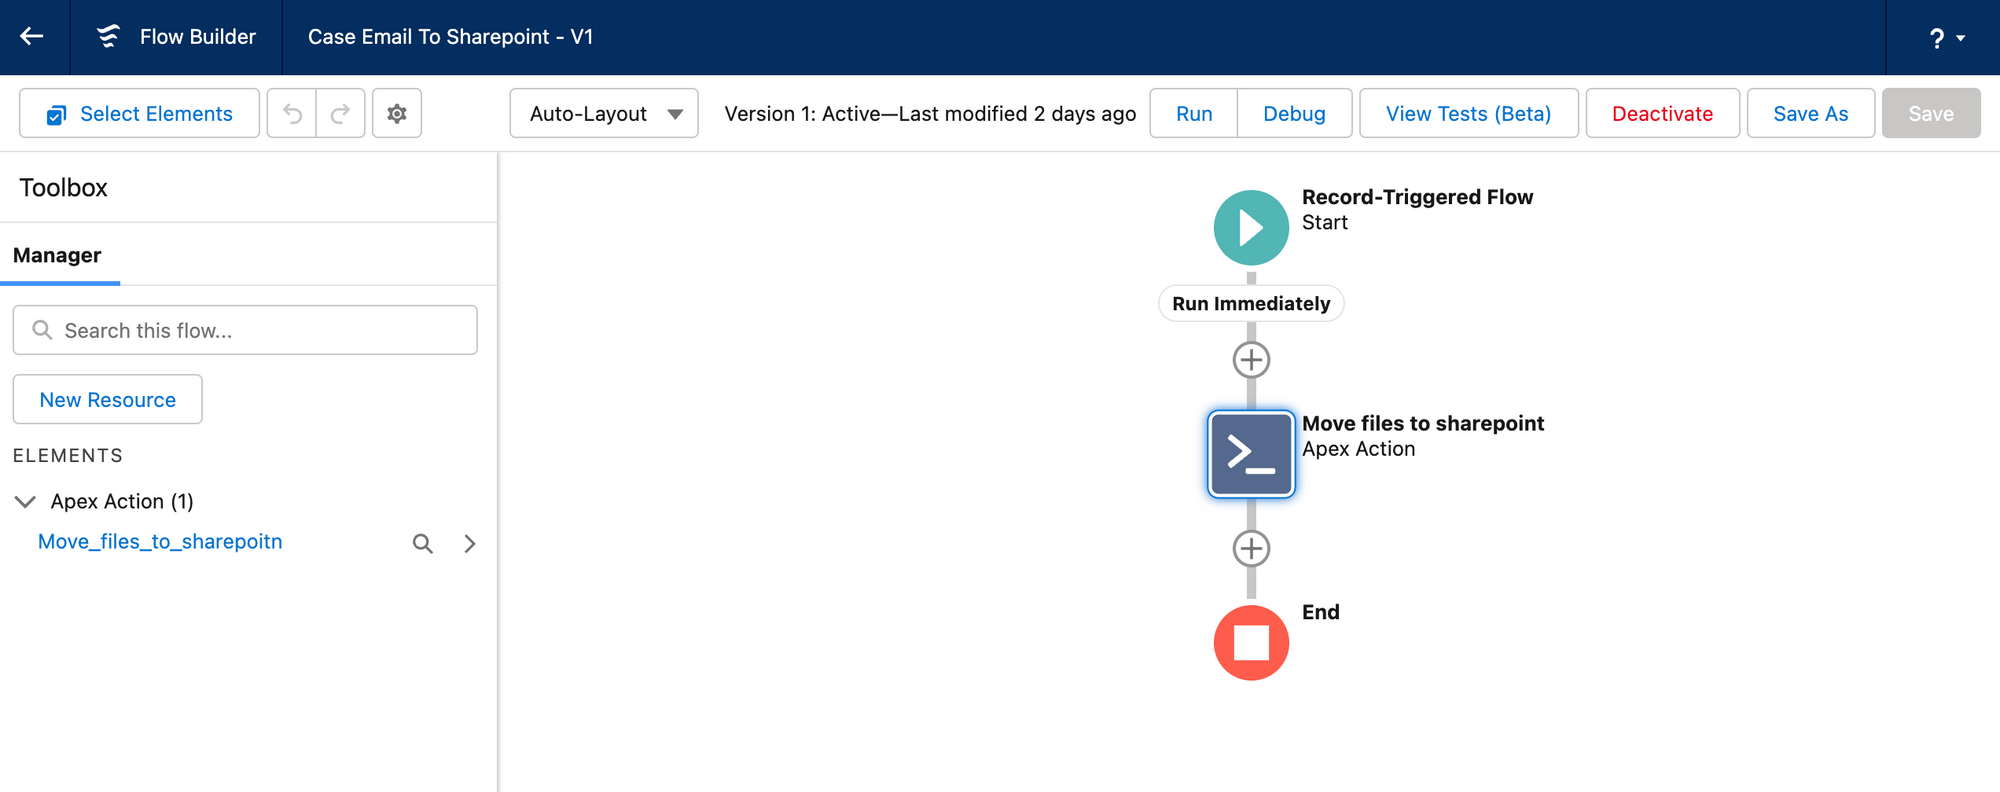
- After everything is setup, this is how the flow builder screen should look
You can now activate the flow, and send an email to the “email to case” email address. It will automatically create the case and upload the attachments to the given folder in SharePoint.
Same code can be repurposed to work with other external storages like Google Drive, OneDrive, Box, Dropbox etc.
Happy Coding!